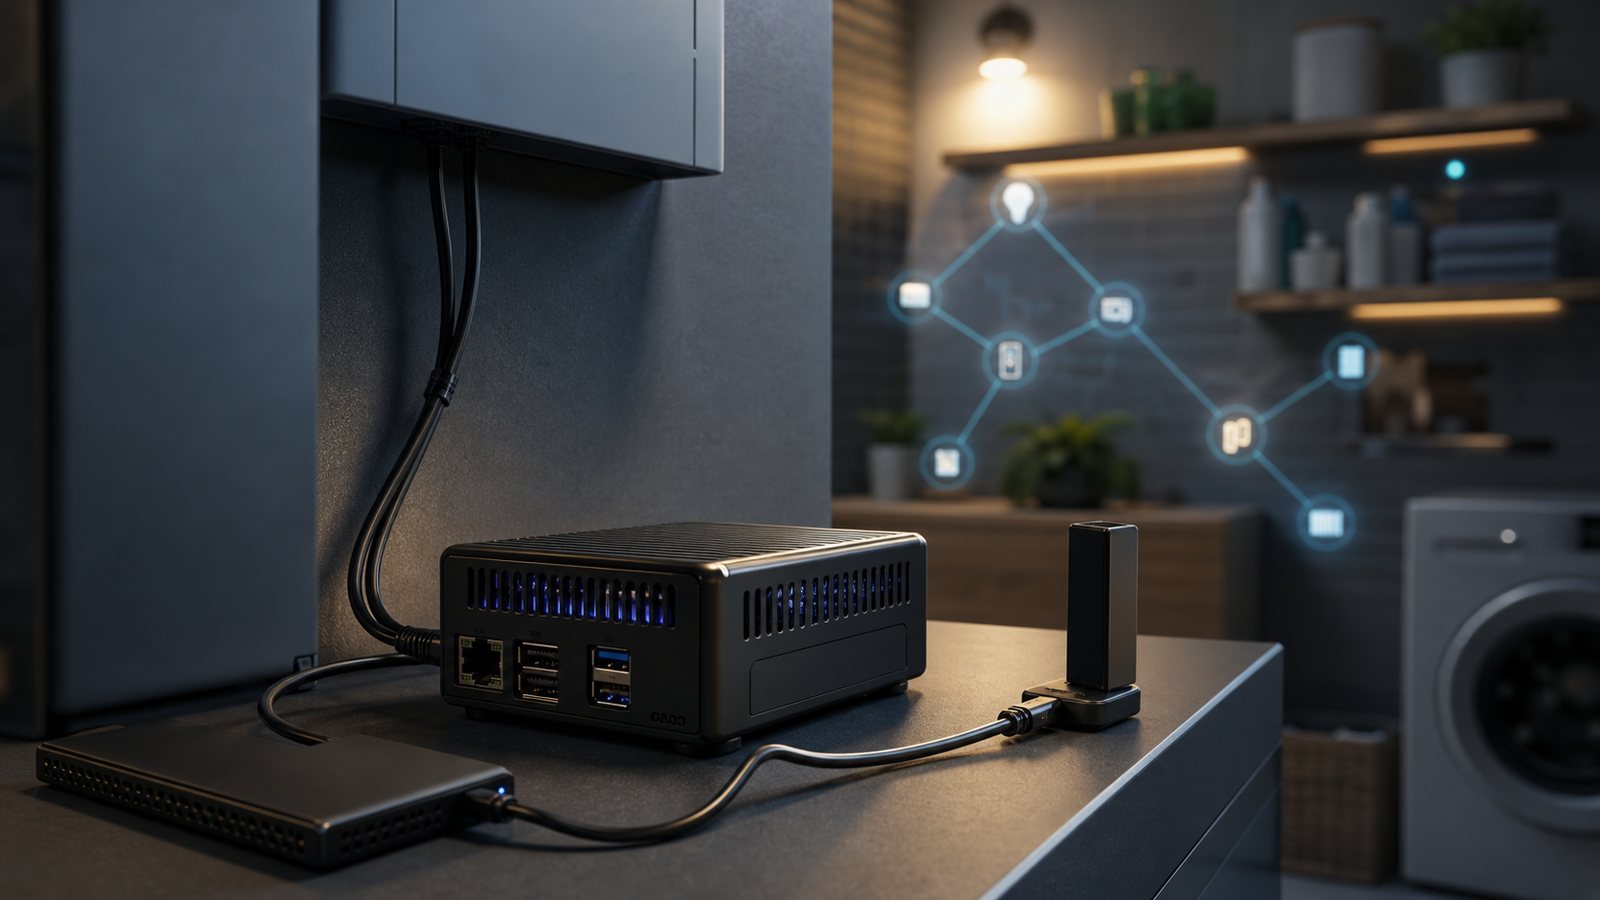
Short answer: a Banana Pi running Home Assistant is usually a small solar load, but a dependable 24/7 system is sized around measured wattage, conversion losses and the least sunny part of the year. Start with the controller's actual draw, convert it to watt-hours per day, then choose panel and battery capacity for the autonomy you genuinely need.
This guide uses a conservative worked example for a Banana Pi, solid-state storage, an Ethernet connection and a Zigbee or Thread radio. It explains the panel, battery, charge controller and DC power path rather than treating a panel's headline wattage as a promise. That is the difference between a pleasant weekend project and an automation controller that quietly disappears on a grey Tuesday in January.
The short answer: small load, serious reliability requirements
Home Assistant itself is not a large electrical load. The board, storage, radio dongle and DC converter normally matter more than the software. A modest system that averages 7.5 W at the battery side uses 180 Wh per day, or 0.18 kWh. That is tiny beside household consumption, but it runs every hour of every day and its job is often to observe the very solar and battery system keeping it alive.
Do not size this as a miniature version of a whole-house solar installation. Size it as a critical low-voltage service. The sensible design target is a DC-powered controller that survives a normal night, rides through a short cloudy spell, and reboots cleanly after a long outage without depending on a household inverter being awake first.
Measure the continuous load before doing any solar maths
Measure at the input of the DC-DC converter or power supply, not only at the board's USB port. That captures the storage device, radio, cable loss and converter overhead. Let Home Assistant run its normal recorder database, integrations and automations for at least a day. A dashboard at idle can look impressively frugal just before a backup, database purge or camera integration wakes up.
For a typical small build, use the meter reading as the source of truth. Until then, a planning estimate can look like this:
| Item | Planning allowance | Why it is included |
|---|---|---|
| Banana Pi under light service load | 4.5 W | Base board, RAM and Ethernet |
| SSD or eMMC storage | 1.0 W | Average allowance, not a start-up peak |
| Zigbee, Thread or Z-Wave adapter | 0.5 W | USB radio and its host overhead |
| DC-DC conversion and wiring | 1.5 W | Losses are real, even at this scale |
| Total planning load | 7.5 W | Measure and replace this number later |
The daily energy calculation is simple:
daily Wh = average watts x 24 hours
7.5 W x 24 h = 180 Wh/day = 0.18 kWh/day
That 0.18 kWh figure is the point at which a household solar question becomes a controller-sizing question. For context on the physical scale and output of domestic arrays, see solar panel sizes for UK homes. The controller will need only a fraction of a household array's production, but it cannot borrow summer sunshine to fix a flat battery in winter.
A useful community lesson is that the inconvenient loads are often not the CPU. People running remote, low-power Home Assistant installations repeatedly focus on measuring every component and planning for the season when access is hardest. Apply that mindset to the SSD, USB hub, radio and converter. The board is rarely the surprise guest at the power budget dinner.
Calculate the panel size from winter solar, not the label
For an off-grid controller, panel sizing starts with daily energy demand and conservative winter peak-sun-hours for the actual location, orientation and shading. Then allow for charge-controller, battery and cable losses. A useful first-pass equation is:
panel watts = daily Wh / (peak sun hours x system efficiency)Using 180 Wh/day, 2 peak sun hours and 65% end-to-end efficiency:
180 Wh / (2 h x 0.65) = 138 WThat makes a 150 W panel a reasonable engineering floor for this example, not a guarantee. A 200 W panel gives more recovery headroom after a poor day and is often the less fussy choice if physical space permits. A 20 W or 40 W panel may keep a lightly loaded board alive through bright summer weather, then leave the battery gradually losing ground during a run of dull days.
Panel orientation, tree shade, dirt and a charge controller running hot all move the real result. If the controller is important during winter outages, use local winter irradiance data or the output estimate from the exact planned roof or mounting position. Do not average the year. December does not care what happened in June.
Use MPPT only where it earns its place
A small PWM controller can be adequate with a panel designed for a 12 V battery system and short cable runs. An MPPT controller is usually the better fit when using a higher-voltage panel, when cable runs are longer, or when recovering the most energy in weak light matters. Buy from a vendor that documents low-temperature charging behaviour and configurable low-voltage disconnect thresholds. A mystery controller with an enthusiastic listing is not a battery-management strategy.
Battery size: overnight runtime and autonomy days
Battery capacity should be calculated from the energy the load needs, the usable portion of the battery and the conversion losses on the way back to the Banana Pi. Do not plan to drain a battery to zero. For a LiFePO4 battery, an 80% usable-depth assumption is a conservative starting point unless its battery-management system and warranty specify a different operating window.
required battery Wh = daily Wh x autonomy days / (usable fraction x DC efficiency)For three days of autonomy at 180 Wh/day, 80% usable capacity and 90% DC conversion efficiency:
180 x 3 / (0.80 x 0.90) = 750 WhAt a nominal 12.8 V, that is about 59 Ah. In practice, a quality 12 V 100 Ah LiFePO4 battery gives a more forgiving margin for ageing, cold weather, recovery after cloud and future USB additions. It also makes a short outage boring, which is exactly the mood you want from infrastructure.
For context on capacity, installation and price trade-offs at the household end of the market, see UK solar battery costs. The same distinction applies at small scale: capacity in kWh is not enough on its own. Check continuous discharge current, low-temperature charge protection, expansion options and the warranty's permitted depth of discharge.
Do not confuse battery capacity with available power
A 1 kWh battery can have plenty of stored energy while its BMS, fuse, cable or DC converter is undersized for a momentary load. Home Assistant itself is gentle, but USB disks, fans and a small network switch can create start-up peaks. Fuse close to the positive battery terminal, size cables for the expected current and use a regulated converter with enough peak headroom. For a more general fault-finding sequence, see our ARM SBC power and storage crash checklist.
A power architecture that does not create a circular dependency
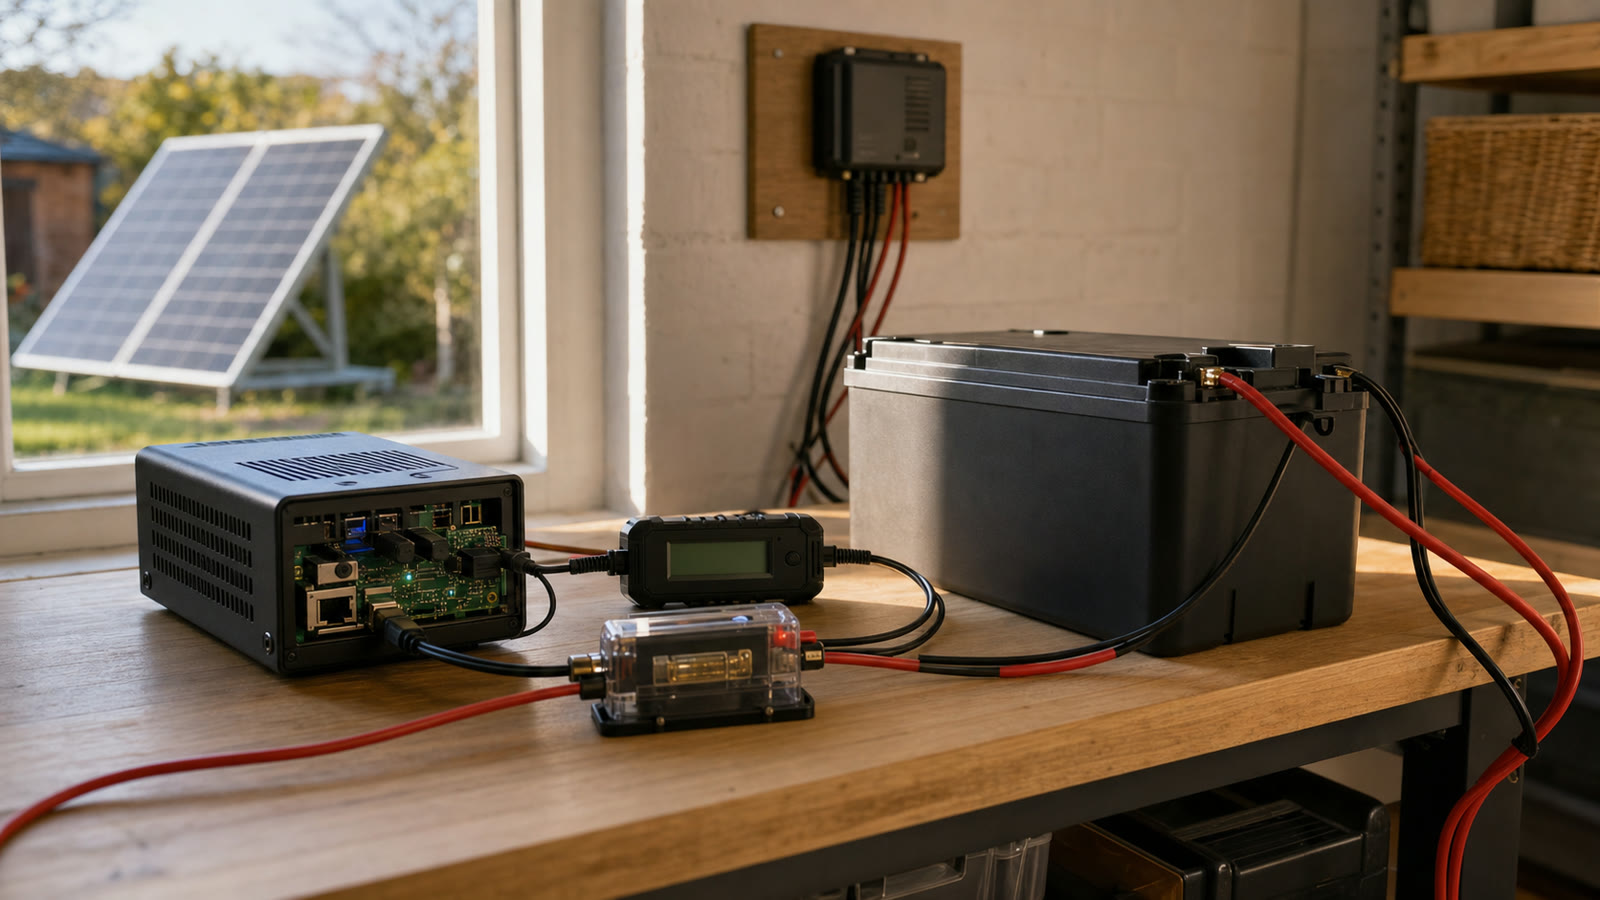
The neatest arrangement is usually solar panel to charge controller, controller to fused battery, then battery to a quality DC-DC converter that supplies the Banana Pi at its required voltage. Avoid using a mains inverter merely to feed the board's wall adapter unless there is a compelling reason. Each extra conversion wastes energy and adds another component that can decide to be clever at 3 am.
Keep the controller's own power path independent of the Home Assistant automations that manage household energy. Home Assistant can make excellent decisions from inverter, tariff and battery data, but the inverter must remain safe when Home Assistant is down. Think of the automation system as an observer with useful authority, not the only person holding the light switch.
- Use wired Ethernet where possible. Wi-Fi reconnection during a low-voltage event is needless drama.
- Prefer SSD, eMMC or other durable storage. A low battery and a tired microSD card are poor teammates. Our microSD endurance guide covers the write-heavy failure pattern.
- Set a low-voltage shutdown before the battery BMS emergency cutoff, then test whether the board restarts cleanly after charging resumes.
- Place radios away from noisy USB 3 hardware and high-current DC wiring. A perfectly sized battery does not fix a flaky Zigbee mesh.
Validate the system before calling it 24/7
Bench-test the complete system with a meter and a deliberately realistic workload. Record battery voltage, charge current, converter output and the board's input power. Then run a controlled no-solar test for one night. If practical, repeat with the expected radio, storage and network equipment connected. This establishes a real baseline and exposes loose connectors, converter heat and unexpected idle draw while the consequences are still limited to a workbench.
After installation, keep a weekly eye on minimum battery voltage and daily energy balance for the first season. If the battery trends lower across several cloudy days, the remedy may be more panel area, a better mounting position, lower load, more storage or a defined grid backup. Pretending the graph is about to improve out of politeness is not a control strategy.
Practical starting specification
For the 7.5 W example, a sensible starting point is a 150 W to 200 W panel, an appropriately rated charge controller, a 12 V 100 Ah LiFePO4 battery with cold-charge protection, a fused 12 V distribution point, and a regulated DC-DC converter sized above the Banana Pi's peak draw. Reduce or enlarge those figures only after measuring the installed load and deciding how many no-sun days the controller must survive.
The reliable way to power Home Assistant from solar is not to buy the biggest battery that fits under a bench. Measure the load, protect the battery's usable capacity, design for the dull season, and keep the controller's basic power path simpler than the automations it runs. Then the system can quietly get on with its job, which is the highest compliment for home infrastructure.