Why Segment a Home Network
A flat home network puts your NAS, your work laptop, a cheap IP camera, and a guest's phone on the same broadcast domain. When the camera gets compromised (and it will — most IoT firmware never gets patched), the attacker can reach everything. Segmentation fixes this.
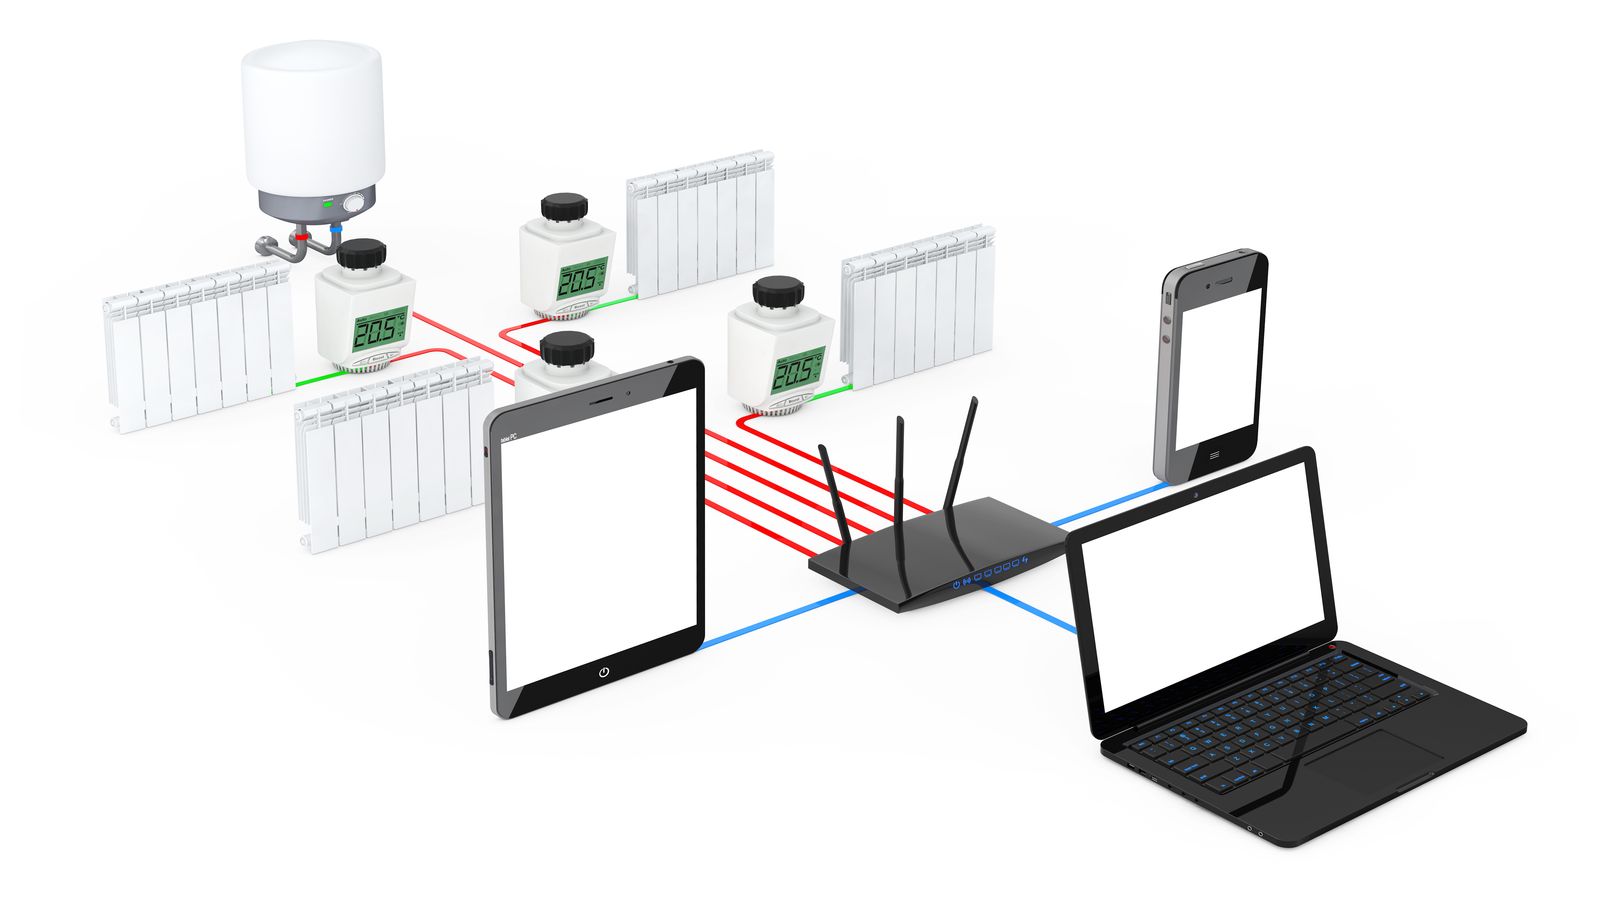
The practical goal: three or four VLANs on a single OpenWrt router, each with its own subnet, DHCP pool, and firewall rules. IoT devices can reach the internet but not your LAN. Guests get internet-only access. VPN traffic stays in its own zone.
VLAN Planning: IDs, Subnets, DHCP Pools
| VLAN ID | Name | Subnet | DHCP Range | Purpose |
|---|---|---|---|---|
| 1 | LAN (trusted) | 192.168.1.0/24 | .100–.250 | Workstations, NAS, admin devices |
| 10 | IoT | 192.168.10.0/24 | .100–.250 | Cameras, smart plugs, sensors |
| 20 | Guest | 192.168.20.0/24 | .100–.250 | Visitor devices, internet only |
| 30 | VPN | 10.0.0.0/24 | None (static) | WireGuard tunnel traffic |
OpenWrt VLAN Configuration
Via LuCI (web interface)
- Go to Network → Interfaces → Devices
- Click Add device configuration, set type to Bridge VLAN filtering
- Select your physical switch device (usually
br-lan) - Under Bridge VLAN filtering, add entries for VLAN 10, 20, and 30
- Tag the uplink/trunk port (the port going to the router CPU) as tagged for all VLANs
- Set access ports to untagged for their respective VLAN and "not member" for others
Via UCI (command line)
# Create VLAN interfaces on top of br-lan
uci set network.vlan10=device
uci set network.vlan10.type='8021q'
uci set network.vlan10.ifname='br-lan'
uci set network.vlan10.vid='10'
uci set network.vlan10.name='br-lan.10'

uci set network.vlan20=device
uci set network.vlan20.type='8021q'
uci set network.vlan20.ifname='br-lan'
uci set network.vlan20.vid='20'
uci set network.vlan20.name='br-lan.20'

uci set network.vlan30=device
uci set network.vlan30.type='8021q'
uci set network.vlan30.ifname='br-lan'
uci set network.vlan30.vid='30'
uci set network.vlan30.name='br-lan.30'

# Create network interfaces for each VLAN
uci set network.iot=interface
uci set network.iot.proto='static'
uci set network.iot.device='br-lan.10'
uci set network.iot.ipaddr='192.168.10.1'
uci set network.iot.netmask='255.255.255.0'

uci set network.guest=interface
uci set network.guest.proto='static'
uci set network.guest.device='br-lan.20'
uci set network.guest.ipaddr='192.168.20.1'
uci set network.guest.netmask='255.255.255.0'

uci commit network

# Configure DHCP for new interfaces
uci set dhcp.iot=dhcp
uci set dhcp.iot.interface='iot'
uci set dhcp.iot.start='100'
uci set dhcp.iot.limit='150'
uci set dhcp.iot.leasetime='12h'

uci set dhcp.guest=dhcp
uci set dhcp.guest.interface='guest'
uci set dhcp.guest.start='100'
uci set dhcp.guest.limit='150'
uci set dhcp.guest.leasetime='2h'

uci commit dhcp
Firewall Zone Rules for Inter-VLAN Traffic
# IoT zone: can reach internet, cannot reach LAN or Guest
uci set firewall.iot_zone=zone
uci set firewall.iot_zone.name='iot'
uci set firewall.iot_zone.input='DROP'
uci set firewall.iot_zone.output='ACCEPT'
uci set firewall.iot_zone.forward='DROP'
uci add_list firewall.iot_zone.network='iot'

uci set firewall.iot_wan=forwarding
uci set firewall.iot_wan.src='iot'
uci set firewall.iot_wan.dest='wan'

# Allow DHCP and DNS from IoT zone to router
uci set firewall.iot_dhcp=rule
uci set firewall.iot_dhcp.name='Allow-IoT-DHCP-DNS'
uci set firewall.iot_dhcp.src='iot'
uci set firewall.iot_dhcp.dest_port='53 67 68'
uci set firewall.iot_dhcp.proto='udp'
uci set firewall.iot_dhcp.target='ACCEPT'

# Guest zone: internet only, no LAN access, no IoT access
uci set firewall.guest_zone=zone
uci set firewall.guest_zone.name='guest'
uci set firewall.guest_zone.input='DROP'
uci set firewall.guest_zone.output='ACCEPT'
uci set firewall.guest_zone.forward='DROP'
uci add_list firewall.guest_zone.network='guest'

uci set firewall.guest_wan=forwarding
uci set firewall.guest_wan.src='guest'
uci set firewall.guest_wan.dest='wan'

uci set firewall.guest_dhcp=rule
uci set firewall.guest_dhcp.name='Allow-Guest-DHCP-DNS'
uci set firewall.guest_dhcp.src='guest'
uci set firewall.guest_dhcp.dest_port='53 67 68'
uci set firewall.guest_dhcp.proto='udp'
uci set firewall.guest_dhcp.target='ACCEPT'

uci commit firewall
/etc/init.d/firewall restartuci revert firewall && /etc/init.d/firewall restart to roll back. OpenWrt also has a failsafe mode — hold the reset button during boot to bypass configuration entirely.
Integrating a WireGuard VPN Zone
If you've set up WireGuard on a Banana Pi (WireGuard setup guide), you can route VPN traffic through a dedicated firewall zone on the OpenWrt router:
# VPN zone — allow forwarding to LAN only, not to IoT or Guest
uci set firewall.vpn_zone=zone
uci set firewall.vpn_zone.name='vpn'
uci set firewall.vpn_zone.input='ACCEPT'
uci set firewall.vpn_zone.output='ACCEPT'
uci set firewall.vpn_zone.forward='DROP'
uci add_list firewall.vpn_zone.network='vpn'

# Allow VPN to reach LAN
uci set firewall.vpn_lan=forwarding
uci set firewall.vpn_lan.src='vpn'
uci set firewall.vpn_lan.dest='lan'

# Allow LAN to reach VPN (for return traffic and initiating connections)
uci set firewall.lan_vpn=forwarding
uci set firewall.lan_vpn.src='lan'
uci set firewall.lan_vpn.dest='vpn'

uci commit firewall
/etc/init.d/firewall restart
DNS Privacy: DNS-over-TLS
By default, DNS queries from all VLANs go to your ISP in plaintext. Use stubby to encrypt DNS queries:
opkg update
opkg install stubby

# Configure stubby to listen on localhost
uci set stubby.global.listen_address='127.0.0.1@5453'
uci set stubby.global.round_robin_upstreams='1'
uci commit stubby

# Point dnsmasq to stubby
uci set dhcp.@dnsmasq[0].noresolv='1'
uci set dhcp.@dnsmasq[0].server='127.0.0.1#5453'
uci commit dhcp

/etc/init.d/stubby enable
/etc/init.d/stubby start
/etc/init.d/dnsmasq restart
Verify DNS resolution uses the encrypted path:
# From a LAN device:
nslookup example.com 192.168.1.1
# Should resolve — check stubby logs for TLS connection confirmation:
logread | grep stubby
Testing Isolation
After applying the configuration, verify each VLAN can only reach what it should:
# From an IoT device (192.168.10.x):
ping 192.168.1.1    # Router — should FAIL (input DROP)
ping 192.168.1.100  # LAN device — should FAIL (forward DROP)
ping 8.8.8.8        # Internet — should SUCCEED
ping 192.168.20.100 # Guest device — should FAIL

# From a Guest device (192.168.20.x):
ping 192.168.1.100  # LAN device — should FAIL
ping 192.168.10.50  # IoT device — should FAIL
ping 8.8.8.8        # Internet — should SUCCEED

# From a LAN device (192.168.1.x):
ping 192.168.10.50  # IoT device — should SUCCEED (LAN can manage IoT)
ping 8.8.8.8 # Internet — should SUCCEEDuci set firewall.lan_iot=forwarding; uci set firewall.lan_iot.src='lan'; uci set firewall.lan_iot.dest='iot'; uci commit firewall.
Common Mistakes
| Mistake | What Happens | Fix |
|---|---|---|
| Forgetting to tag the CPU port on new VLANs | VLAN traffic never reaches the router | Ensure the CPU port is tagged for every VLAN in the bridge config |
| Setting input=ACCEPT on IoT/Guest zones | Devices can access the router's admin interface | Set input=DROP, add explicit rules for DHCP/DNS only |
| No DHCP server on new VLANs | Devices connect but get no IP | Add a dhcp section for each new interface in UCI |
| Not committing changes | Config reverts on reboot | Always run uci commit after changes |
| Blocking DNS from guest/IoT | Internet "doesn't work" even though routing is fine | Allow UDP 53 from each zone to the router |
| Using the wrong switch model in DSA config | VLANs don't function | Check swconfig list or ip link show for correct device names |
Related Reading
- WireGuard on Banana Pi — site-to-site VPN setup to pair with VLAN segmentation
- Hardening an SBC for the internet — secure the SBC before connecting it to segmented networks
- Debian 13 Trixie install guide — base OS for an SBC acting as a VLAN-aware device on the network
- Diagnose random crashes on ARM SBCs — troubleshoot stability issues on network infrastructure SBCs
- Banana Pi product overview — hardware specifications